How to add a layout to the notes theme for Gatsby
February 19, 2020
Gatsby’s notes theme is a great way to get a “notes” section up and running quickly on a Gatsby site. It doesn’t come with a layout that includes a nice page header though, which is what we’ll be fixing over the next few minutes.
Setup
You will need Node.js installed to follow this tutorial. At the time of writing,
compatible versions of Node are ^8.10.0 || ^10.13.0 || >=11.10.1.
We’ll be starting with a new Gatsby app using the default template, which you can create using the following command:
npx gatsby new notes-with-layout
Once this command executes successfully, you can run your new application by executing the following commands:
cd notes-with-layoutgatsby develop
If all goes well, you should see something like:
You can now view gatsby-starter-default in the browser.⠀http://localhost:8000/⠀View GraphiQL, an in-browser IDE, to explore your site's data and schema⠀http://localhost:8000/___graphql⠀Note that the development build is not optimized.To create a production build, use gatsby build⠀success Building development bundle - 5.377s
Let’s make sure the site is running properly before we get started. Visit http://localhost:8000/ in your browser.

You are now setup to follow the article, have fun!
Adding the notes theme
Now that the basic application is up and running, we need to add the notes theme. If you are not familiar with themes, they are plugins that have prepackaged application functionality, like a blog.
To add the notes theme, you will need to install it. Kill your development
server using Ctrl+c, then run the following command:
npm install gatsby-theme-notes # (or yarn add gatsby-theme-notes)
After a successful installation, you will need to add the theme to your
gatsby-config.js file:
// gatsby-config.jsmodule.exports = {plugins: [// ...{resolve: `gatsby-theme-notes`,options: {// basePath defaults to `/`basePath: `/notes`,},},// this (optional) plugin enables Progressive Web App + Offline functionality// To learn more, visit: https://gatsby.dev/offline// `gatsby-plugin-offline`,],}
You can now add .md and .mdx files to the content/notes directory in your
application. Create a simple hello world file now:
<!--- content/notes/hello_world.md ---># Hello worldThis is my first note!
After running gatsby develop again, visit
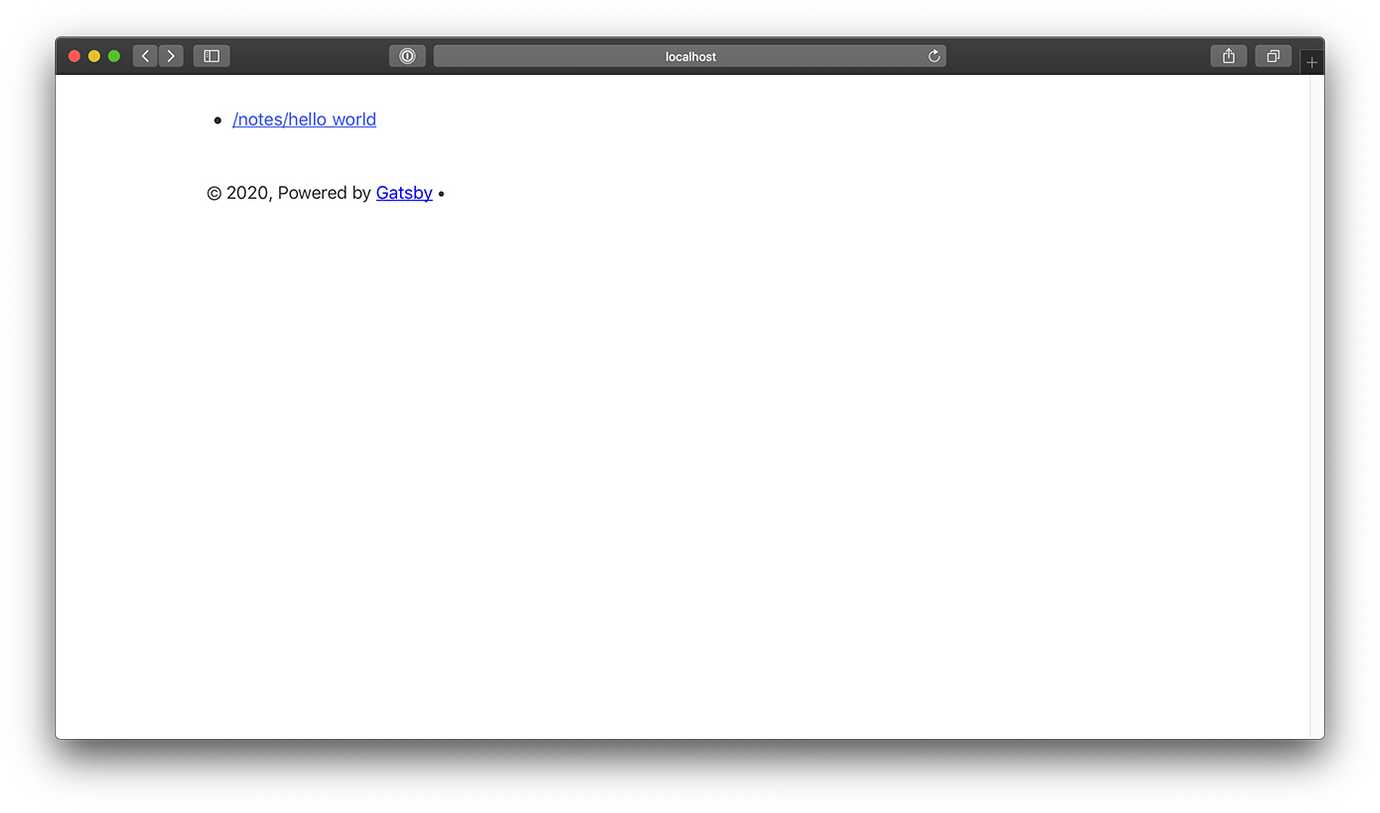
http://localhost:8000/notes.
Adding the layout
You will probably notice the lack of a site header on the notes index.

We are now going to use a concept called shadowing to wrap the content of the page with our application’s layout.
The first thing we need to do is find out the location and name of the file we
need to shadow. The best way to do that is to visit the Gatsby Github
repository. Once you are there, navigate to
packages/gatsby-theme-notes/src/components.
If you poke around, you will see that the content we want to wrap is located in
notes.js. That means we want to shadow
gatsby-theme-notes/src/components/notes.js.
To do this, we will create a file in our application located at
src/gatsby-theme-notes/components/notes.js. Be careful not to create an src
directory inside of gatsby-theme-notes, as this will not work. (The shadow
path is the same path as in the original location, except it is in our own src
directory, and we don’t create a nested src directory)
The first thing we need to do is copy the original file content into the new location in our application:
// src/gatsby-theme-notes/components/notes.jsimport React from "react"import DirectoryList from "./directory-list"import FileList from "./file-list"import Breadcrumbs from "./breadcrumbs"import Layout from "./layout"export default ({directories,files,breadcrumbs = [],siteTitle,...props}) => (<Layout {...props} title={siteTitle}>{breadcrumbs.length ? <Breadcrumbs links={breadcrumbs} /> : null}<DirectoryList directories={directories} /><FileList files={files} /></Layout>)
You will need to restart gatsby develop for Gatsby to see your new shadow file.
If you look at the file contents above, you will notice that we are importing
files using ./, which means they should be in the same directory as the file
we are writing. Since that is not true, we need to update the import locations.
./ becomes gatsby-theme-notes/src/components/.
// src/gatsby-theme-notes/components/notes.jsimport React from "react"import DirectoryList from "gatsby-theme-notes/src/components/directory-list"import FileList from "gatsby-theme-notes/src/components/file-list"import Breadcrumbs from "gatsby-theme-notes/src/components/breadcrumbs"import Layout from "gatsby-theme-notes/src/components/layout"export default ({directories,files,breadcrumbs = [],siteTitle,...props}) => (<Layout {...props} title={siteTitle}>{breadcrumbs.length ? <Breadcrumbs links={breadcrumbs} /> : null}<DirectoryList directories={directories} /><FileList files={files} /></Layout>)
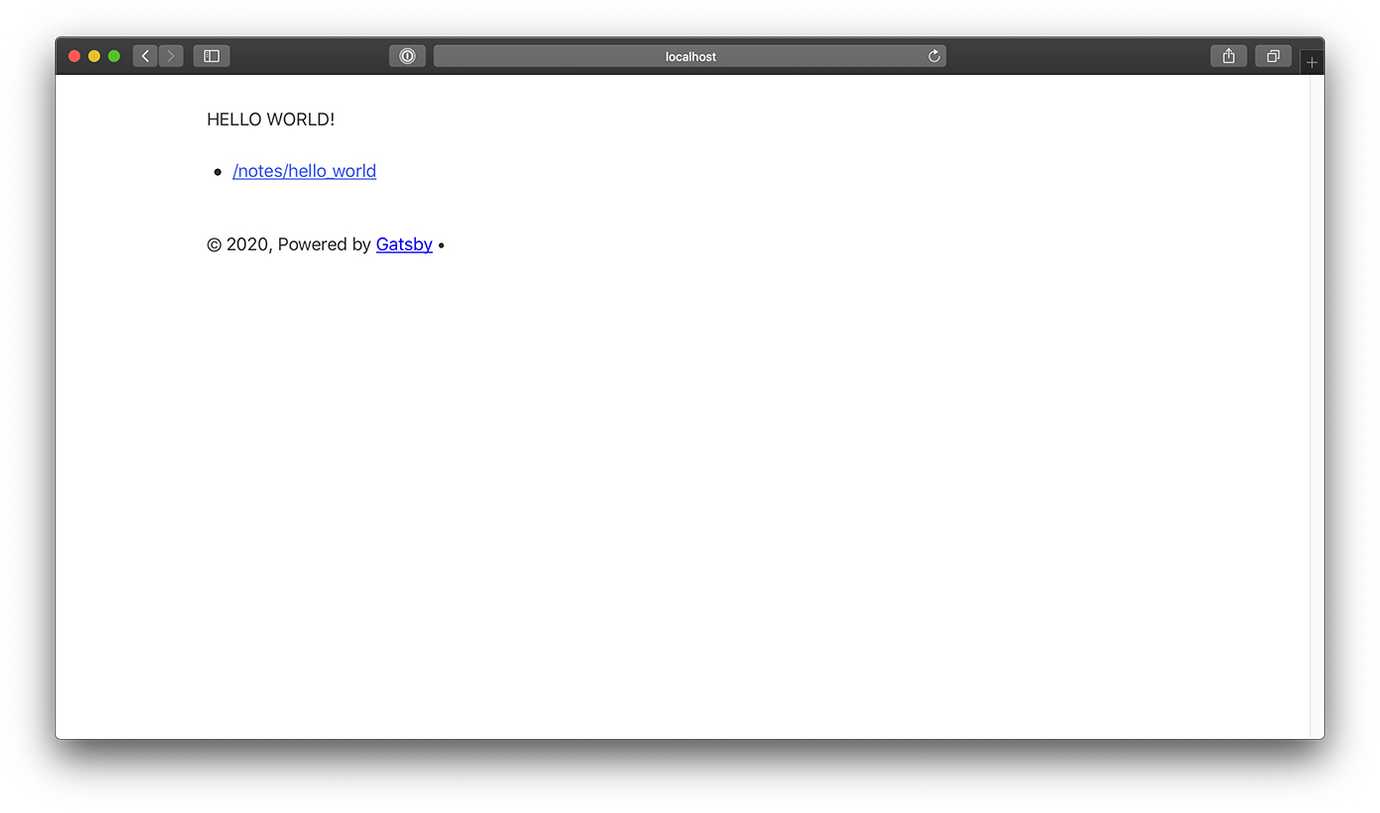
If you visit http://localhost:8000/notes again, the page should look exactly as it did before, and you should not be shown any errors. That means everything is going well. Now we want to make sure that Gatsby is serving our shadow file.
The best way to do that is to modify the rendered component:
// ...<Layout {...props} title={siteTitle}><p>HELLO WORLD!</p>{breadcrumbs.length ? <Breadcrumbs links={breadcrumbs} /> : null}<DirectoryList directories={directories} /><FileList files={files} /></Layout>// ...

Hurray, it worked!
Updating the layout
If you have made it this far, that means you have successfully shadowed the theme and seen your “HELLO WORLD!” message. At this point, all that is left is to do what we came here for… use the correct layout!
To do this, we need to know two things:
- Where is our site’s layout component?
- What props does it expect?
If you look in src/components, you will find layout.js. This is the layout
component for the starter app template that we created the application from.
Next, we need to know what props it expects. If you look at the function
definition, you will see ({ children }). That is called destructuring, and it
is pulling a property called children off the props object. If you look at this code:
<MyParagraph><span style={{ color: `green` }}>I'm green with envy!</span></MyParagraph>
The MyParagraph component would receive the <span> component as its
children.
Given this, we can see that our application’s layout expects only to receive
nested children, and no data props. That means we can update the notes.js file
to look like this:
// src/components/gatsby-theme-notes/components/notes.jsimport React from "react"import DirectoryList from "gatsby-theme-notes/src/components/directory-list"import FileList from "gatsby-theme-notes/src/components/file-list"import Breadcrumbs from "gatsby-theme-notes/src/components/breadcrumbs"import Layout from "../../components/layout"export default ({directories,files,breadcrumbs = [],siteTitle,...props}) => (<Layout>{breadcrumbs.length ? <Breadcrumbs links={breadcrumbs} /> : null}<DirectoryList directories={directories} /><FileList files={files} /></Layout>)
We have changed three things in the code:
- Updated the import to use our application’s layout instead of the notes theme’s layout.
- Removed all of the props from the
<Layout>usage. - Removed the “HELLO WORLD!” test code.
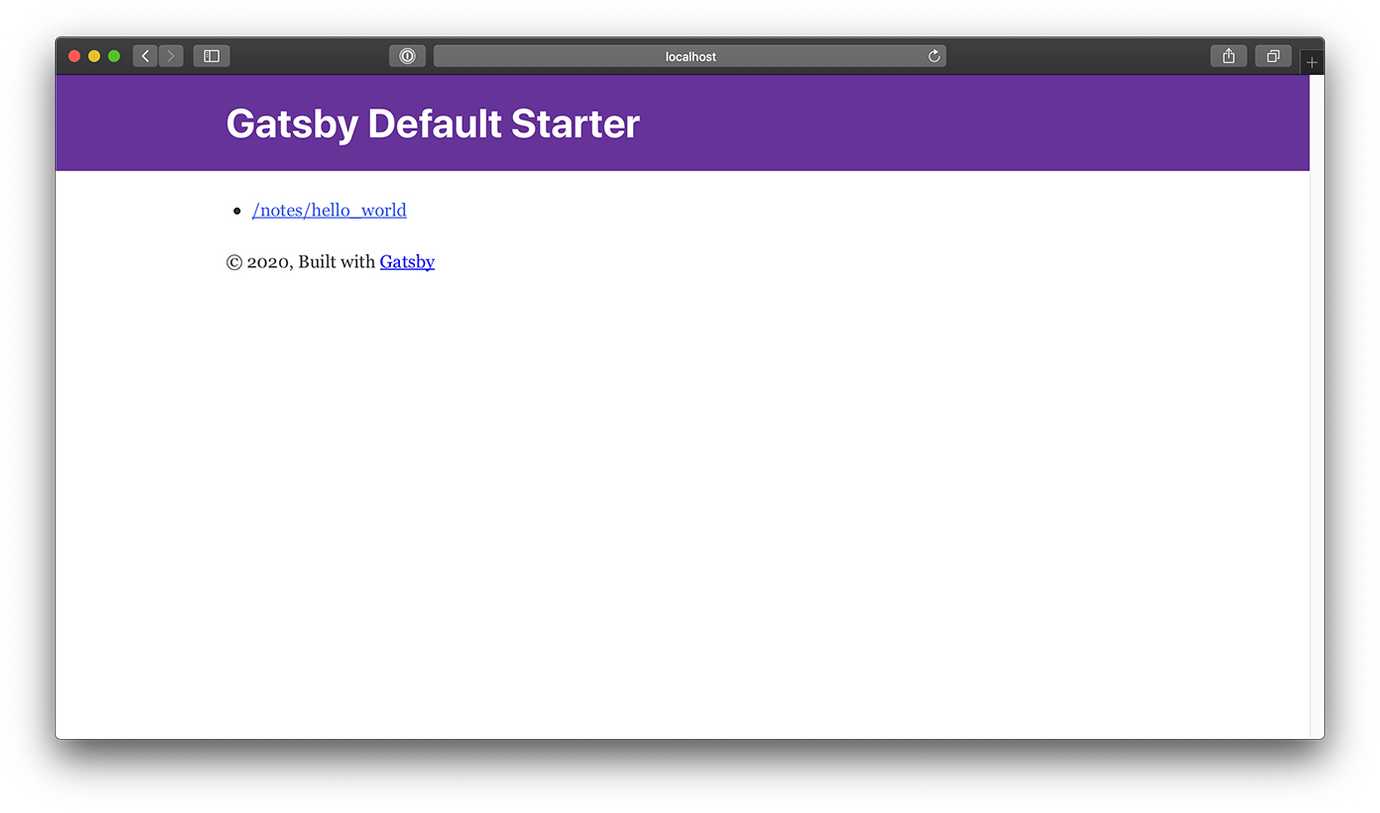
If you go back to http://localhost:8000/notes, you will now see our application’s header on the page!

Homework
We are very close to done, but not quite. The individual note template still needs to be done. I’ll leave that to you, as an exercise to test and reinforce what you have learned here.
I hope you have enjoyed learning from this article. Good luck, and enjoy your Gatsby application!
